%20(2).png)
OCR in Insurance: How to Digitize Paper Fast and Accurately
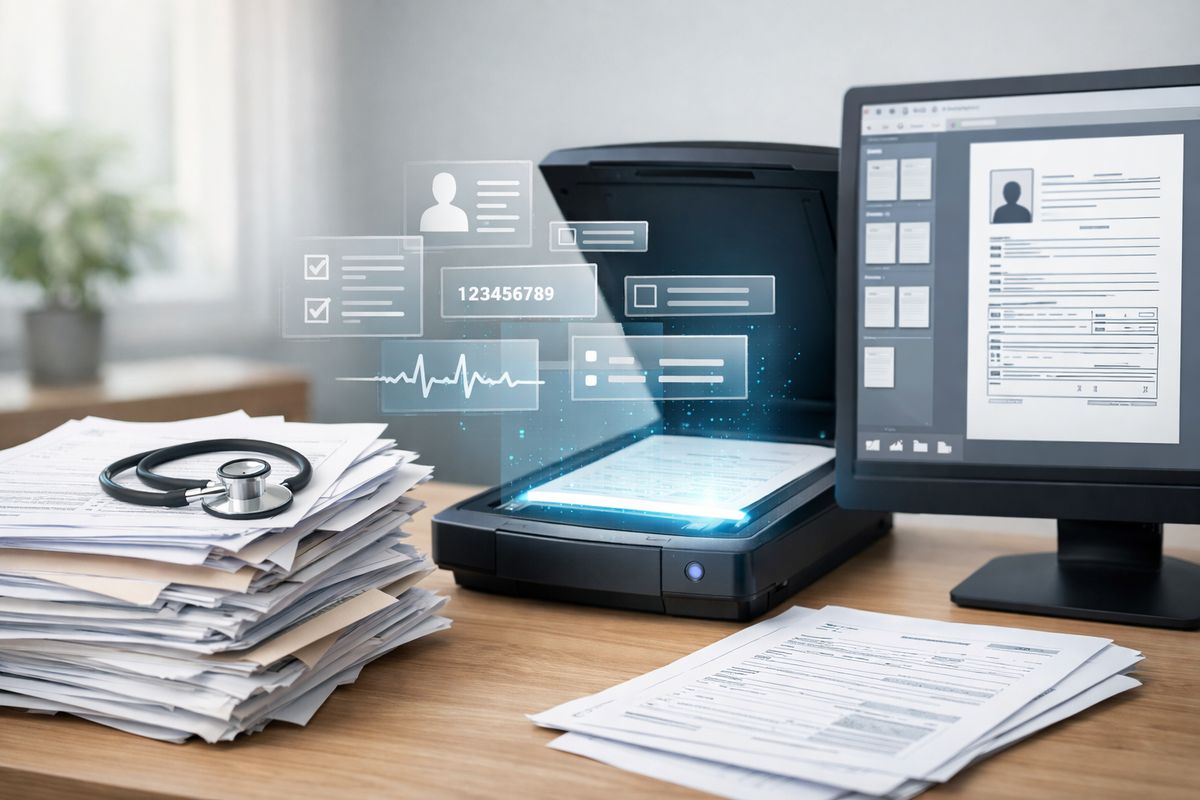
Paper piles have a way of turning a simple case into a slow one. Optical character recognition (OCR) gives you a practical way to turn paper medical records and applications into searchable, usable text, so you can spend less time rekeying and more time moving cases forward.
What OCR does in insurance and where it saves you the most time
OCR is the tech that reads words on a scanned page and converts them into digital text. In plain English, it turns a PDF that acts like a photo into a file you can search, copy from, route, and sometimes pull data out of automatically.
In life insurance, that matters more than it sounds. Paper applications, APS files, questionnaires, signed disclosures, replacement forms, and attending physician statements all create drag when every name, date, medication, and policy detail has to be read by eye and typed in again. OCR cuts that drag fast.
The biggest time savings usually show up in intake and underwriting support. Instead of opening a 200-page APS file and hunting page by page for hypertension history or a physician date, you can search the text in seconds. Instead of manually typing applicant details from a paper packet into multiple systems, you can capture the data once and route it where it belongs.
That is also why OCR often sits near the front of a broader shift toward more practical digital operations in insurance. Once paper stops acting like a dead end, the rest of the workflow gets easier.
What you’ll need before you start
Before Step 1, set up a simple workflow that can survive real case volume. You need a scanner or reliable mobile capture tool, a secure storage location, OCR software, a small batch of sample insurance documents, and a review process for checking the output before anything reaches underwriting or case management.
Image quality matters more than fancy software. A clean scan from a basic office scanner usually beats a blurry phone photo run through expensive OCR. Privacy matters just as much. If a file contains medical or financial details, keep access tight from the start, not after the process grows messy.
You also need one person or checkpoint responsible for review. OCR is fast, but insurance files still need a human check before extracted data gets used in follow-up, underwriting, or compliance records. If that review step is vague, errors spread quietly.
Step 1: pick the insurance documents you want to digitize first
Trying to digitize every paper document at once is how a useful project turns into a stalled one. Start with the forms and records that repeatedly slow down intake, underwriting prep, and status follow-up.
- Pull a sample from the last 30 to 60 days of casework.
- Count which paper document types show up most often.
- Mark which ones require the most manual reading or rekeying.
- Choose one or two document sets with high volume and obvious friction.
- Leave lower-volume oddballs for later.
Success at this stage looks simple: you know exactly which paper stack gets digitized first, and you can explain why in one sentence.
Start with high-volume, repeat-use documents
The best starting point is usually the pile you touch every day. Application packets, APS files, replacement forms, amendment pages, and standard questionnaires are often the quickest wins because the same document patterns keep showing up.
- Look for documents that arrive in batches.
- Choose forms used across many cases.
- Prioritize anything staff retypes into another system.
- Ignore rare exceptions for now.
That approach gets you a quick result instead of a giant cleanup project. It is the same logic as fixing the busiest drawer in a kitchen before reorganizing the whole house.
Separate clean forms from messy records
Not every document should go through the exact same OCR setup. Structured forms, meaning documents with fields in predictable spots, behave very differently from messy medical records, fax copies, and handwritten notes.
- Create one group for standard forms.
- Create another group for medical records and APS files.
- Separate handwritten-heavy pages for manual review.
- Keep each batch as consistent as possible.
The trick is consistency. When similar documents stay together, OCR settings, templates, and review steps become easier to repeat without constant tweaking.
Step 2: prepare paper files so OCR can read them accurately
A lot of OCR errors start before scanning. Small physical problems, crooked pages, staples, faded copies, mixed document types, can quietly wreck accuracy and leave you cleaning up the mess later.
- Gather the batch you chose in Step 1.
- Remove anything that will jam or skew in the scanner.
- Sort pages into clean, logical sets.
- Flag pages that need special handling before scanning starts.
If you skip prep, the software spends the rest of the process guessing. Guessing is expensive.
Remove staples, straighten pages, and sort by document type
This is the boring setup work that saves real time. Remove staples and paper clips, flatten folded corners, straighten bent pages, and keep each document type in its own batch.
- Remove staples and clips.
- Flatten folded or crumpled pages.
- Put pages in the right order.
- Separate forms from records.
- Feed only one document type at a time.
Think of it like laying out ingredients before cooking. Five minutes here can save twenty minutes of rescanning, page rotation, and file cleanup later.
Flag handwritten notes, stamps, and hard-to-read pages
OCR handles typed text much better than scribbles, faint fax lines, overlapping stamps, or low-contrast photocopies. Those pages are not hopeless, but they do need extra attention.
- Mark handwritten pages for manual review.
- Pull faint or heavily stamped pages into a separate pile.
- Note any pages with sticky notes or obscured text.
- Watch for signature pages with overlapping marks.
That early flagging matters. It is much easier to catch trouble before scanning than to discover later that a medication note vanished into page 143 of an APS file.
Step 3: scan or capture documents with the right settings
Here’s the thing: scan quality matters more than fancy software. If the original digital image is sharp, straight, and complete, OCR has a real chance. If it is blurry, cropped, or tilted, even a strong tool will struggle.
- Use a consistent scanner or capture app.
- Set resolution high enough for readable text.
- Check output after the first few pages.
- Adjust settings before you process the whole batch.
Your goal is not a beautiful file. Your goal is a clear file the software can actually read.
Use the right resolution, file type, and color settings
For most insurance documents, 300 DPI is a good default. It is usually sharp enough for OCR without creating oversized files. If a document is faint or packed with small print, move up to 400 DPI. Going much higher often just slows things down.
- Scan most documents at 300 DPI.
- Use 400 DPI for faint or dense records.
- Save as PDF when you want one multipage file.
- Use image files only when a tool specifically needs them.
- Choose grayscale for standard text pages.
- Use color when highlights, stamps, or colored annotations matter.
PDF is usually the practical choice because it keeps multipage files together. That becomes even more useful when files later move into an agent workspace that tracks cases and documents.
Keep pages aligned and complete
Crooked pages, missing margins, and upside-down scans create more OCR problems than most people expect. A page can look readable on screen and still fail to capture key text along the edges.
- Check that pages feed straight.
- Make sure no text is cut off at the margins.
- Rotate upside-down or sideways pages before processing.
- Confirm page counts against the original stack.
Picture a late Friday pull of a large APS file at 4:45 p.m., only to notice the physician note on page 87 got clipped at the left margin and the medication list is missing. That is exactly the kind of mistake to catch before the file disappears into the workflow.
Step 4: run OCR and convert images into searchable text
Once your scans are clean, run OCR so the document becomes searchable and usable. This step either overlays text on the scanned image, which makes the PDF searchable, or extracts specific pieces of information into fields.
- Upload or open the scanned batch in your OCR tool.
- Choose the right processing mode.
- Run a small test batch first.
- Review the output before processing everything else.
A searchable PDF is a great start, but it is not the same thing as structured data. That distinction matters.
Choose full-text OCR or field extraction
Use full-text OCR when your main goal is search and retrieval. That works well for APS files, long medical records, and signed disclosures where you mostly need to find content quickly.
Use field extraction when you need data placed into named fields, such as applicant name, date of birth, policy number, physician information, medication names, or case dates.
- Choose full-text OCR for long reference documents.
- Choose field extraction for standard forms and repeated data entry.
- Test both on one sample if the document serves both purposes.
That decision affects everything downstream, especially if the data later feeds faster issue workflows with less manual touch.
Set templates for standard insurance forms
Templates tell the software where to look on repeat documents. For common carrier forms that show up again and again, templates can save a lot of time and improve consistency.
- Pick one standard form version.
- Mark the zones for the fields you need.
- Save the template with a clear name.
- Test it on several copies of the same form.
- Update it when the form layout changes.
Templates work best when the form looks the same every time. Even small shifts in spacing can throw off extraction, so test before using a template at scale.
Step 5: review and validate the OCR output
OCR is fast, but speed without review just moves errors downstream. The human check is where you protect case quality and avoid delays that cost more to fix later.
- Open the OCR output beside the original document.
- Check the fields that matter most first.
- Correct mistakes before routing the file onward.
- Track recurring errors so you can fix the source.
A good review process is not slow. It is focused.
Compare key fields against the original document
Not every field carries the same risk. Names, dates of birth, policy numbers, signatures, physician names, medication details, and dates of service deserve close review because even a small error can trigger underwriting confusion or compliance trouble.
- Verify applicant and insured names.
- Check date of birth and identifying numbers.
- Confirm policy or case numbers.
- Review signatures and signed dates.
- Compare medical details that affect underwriting.
If extracted data feeds an instant decisioning setup for risk review, this checkpoint becomes even more valuable because bad inputs create bad outcomes fast.
Spot common OCR errors fast
Most OCR mistakes follow patterns. Zero and O get swapped. One and l get confused. Checkboxes go missing. Lines split in the wrong places. Stamps get read as text. Once you know what to look for, review gets much faster.
- Scan for mixed-up letters and numbers.
- Check dates carefully.
- Look for missing checkmarks or yes/no selections.
- Watch for broken addresses or medication lines.
- Review fields near signatures and stamps.
The trick is to review by error type, not just by page. Pattern-based checking catches a lot in a few minutes.
Step 6: organize, label, and store digitized files so you can find them later
OCR only pays off if your files stay easy to find. Otherwise, paper chaos just turns into digital chaos, which honestly feels even more annoying because it looks organized until you need something.
- Choose one file naming rule.
- Apply the same labels to every batch.
- Store files in the same folder structure or system.
- Add tags or statuses if your tools allow it.
Searchability is the real win here, not just scanning.
Create a consistent naming convention
A simple naming convention saves time every single time you need to pull a file. Include the client name or ID, document type, date, and case stage in the same order each time.
- Pick a standard format such as ClientID_DocType_YYYYMMDD_CaseStage.
- Use it on every scanned and OCR’d file.
- Avoid vague names like Scan001 or MedicalDocsFinal.
- Keep abbreviations short but consistent.
That consistency becomes even more useful when files connect to a policy system that handles records across the coverage lifecycle.
Tag documents for retrieval and workflow
Tags and metadata add another layer of control. A document can be labeled by case status, document source, review state, or underwriting relevance, which makes retrieval much easier.
- Add document type tags.
- Mark review status.
- Note the case stage.
- Tag source, such as client, physician office, or carrier.
- Flag exceptions that need manual follow-up.
This is where OCR starts doing more than scanning. It helps your files move cleanly from intake to action.
Step 7: route extracted data into your insurance workflow
The goal is not prettier PDFs. The goal is less rekeying. Once OCR extracts useful fields, send that information into the tools you already use so the same name, date, and policy detail does not get typed three different times.
- Identify where the extracted data should go.
- Map fields from the OCR output to those destinations.
- Test with a few sample cases.
- Keep a review checkpoint before live use.
Even a simple handoff can save time. A connected handoff saves a lot more.
Map extracted fields to the right destination
Match each extracted field to a real destination in your process, such as applicant info, physician details, policy identifiers, replacement history, or follow-up notes.
- List the fields your OCR tool captures.
- Match each field to your CRM, document system, or intake queue.
- Remove fields nobody actually uses.
- Test edge cases like suffixes, long medication names, and multi-line addresses.
That mapping work gets much smoother when your systems support real-time connections between outside data and carrier tools.
Set review checkpoints before final use
Before extracted data gets used in underwriting, follow-up, or compliance records, add a simple approval step. That keeps the process fast without handing full control to automation too early.
- Require review for key fields before submission.
- Auto-approve only low-risk document types if accuracy is proven.
- Log corrections so recurring problems are visible.
- Hold exceptions for manual handling.
The catch is simple: automation works best when it earns trust one workflow at a time.
Step 8: protect sensitive insurance and medical information during digitization
Insurance OCR often touches health data, financial details, signatures, and personal identifiers. That means privacy and security need to be built into the process, not taped on later.
- Limit who can open, edit, and export files.
- Store files only in approved systems.
- Secure transmission between tools.
- Keep an audit trail of access and changes.
A fast workflow that leaks data is not a win.
Limit access to only the people who need it
Role-based access keeps files in the right hands. If a user does not need to view medical records or extracted health details, access should stay off by default.
- Limit medical file access by role.
- Restrict export permissions.
- Review access regularly.
- Remove access promptly when roles change.
Fewer hands in the file usually means fewer problems. Simple as that.
Keep retention and deletion rules clear
Keep clear rules for how long source scans, OCR outputs, and extracted data stay in your system. Without that, storage fills up, duplicate versions spread, and risk grows quietly in the background.
- Define retention periods for each file type.
- Decide whether source scans and OCR outputs both need to stay.
- Remove outdated duplicates on a schedule.
- Document deletion rules in the workflow.
Clean retention rules also make audits much less painful.
Troubleshooting common OCR problems in insurance files
Even a good setup runs into rough patches. The fix usually is not starting over. It is figuring out whether the problem comes from the source document, the scan settings, the template, or the workflow expectation.
OCR keeps missing text on older medical records
Older APS files and faxed records often have faint print, low contrast, and crooked lines. OCR struggles because the text is barely readable even to your eye.
- Rescan problem pages at a higher DPI.
- Adjust contrast or brightness.
- Use grayscale or color if faint text disappears in black and white.
- Isolate the bad pages instead of rescanning the whole file.
If only 12 pages in a 180-page file are weak, fix those 12. That is faster and easier.
Handwriting is inaccurate or unreadable
Handwriting is where OCR stops being magic and starts being guesswork. Short handwritten notes, physician scribbles, and rushed corrections often need manual review no matter which tool you use.
- Flag handwritten areas during prep.
- Avoid relying on OCR for key handwritten medical details.
- Correct the data manually when the note matters.
- Store the image for reference even after manual correction.
The right move is often to stop pushing the software and just fix the field directly.
Extracted fields land in the wrong places
This usually means template drift. A form changed slightly, a margin shifted, or a carrier updated the layout without warning.
- Compare the failed form to the template version.
- Update field zones to match the new layout.
- Test the revised template on multiple samples.
- Keep versions labeled clearly by carrier and form date.
A small layout change can send a date into a name field. It happens more often than you would think.
Files are searchable but not usable in your workflow
A searchable PDF helps retrieval, but it does not automatically create structured data. If your team still has to open the file and copy information into another system, OCR solved only part of the problem.
- Decide if search alone is enough for that document type.
- Add field extraction for repeated data entry needs.
- Use tags and metadata if full extraction is not worth the effort.
- Connect outputs to downstream systems where possible.
That is where turning raw insurance information into usable signals starts to matter. Search is good. Structured action is better.
What good OCR results should look like
Good OCR results feel boring in the best way. Intake moves faster, search works, staff stops typing the same information over and over, and case files stay cleaner from the start.
You should be able to open a digitized APS file, search for a diagnosis or physician name in seconds, and find it without scrolling forever. You should be able to pull a client record without digging through a desk drawer at 4:45 p.m. You should notice fewer handoff mistakes, fewer duplicate entries, and less time wasted chasing information that already existed on paper.
That is the real payoff. Not the software itself, but the quieter, smoother casework that follows.
Next steps: start with one document set this week
Pick one high-volume document set, application packets, APS files, or replacement forms, and run it through this workflow from prep to storage. Measure two things only: time saved and error rate.
That small test will tell you more than a long planning session ever will. Try one stack, fix what breaks, and build from there.
Insurance insights and tips




%20(3).png)